Silent Hill: Townfall – Conquering the Auxiliary Lines in Part 6
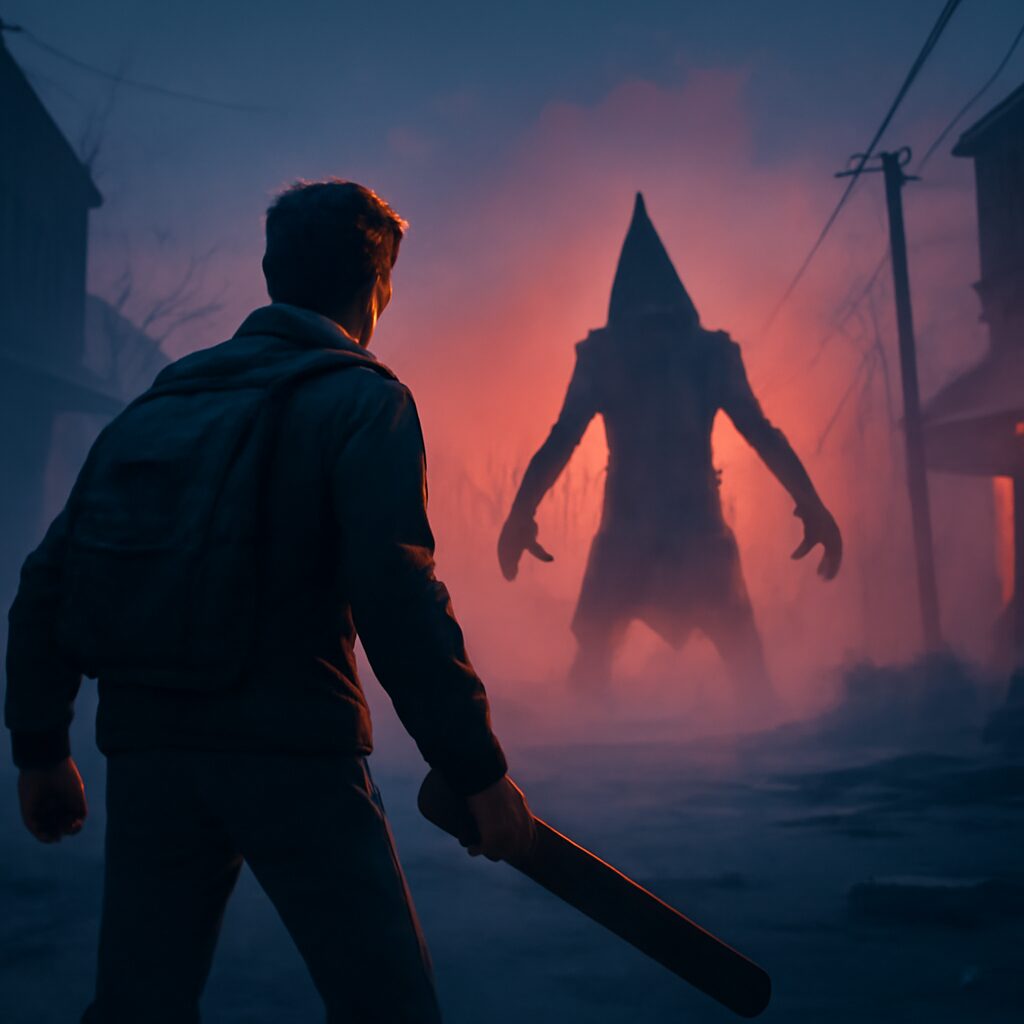
Alright, gamers, let’s talk about Silent Hill. We all know this legendary series isn’t just about jump scares and eerie atmospheres; it’s also famous for throwing some truly mind-bending puzzles our way. And if you’ve been delving into the chilling depths of Silent Hill: Townfall, specifically Part 6, you’ve probably hit a wall with the auxiliary lines puzzle. Trust us, you’re not alone!
This particular brain-teaser can leave even the most seasoned horror veterans feeling a bit frayed, especially after everything else the game throws at you. But fear not, fellow enthusiasts! We’ve navigated the fog and the frights to bring you a clear, step-by-step guide to conquer this tricky segment and get those auxiliary lines open. Let’s get you back to the scares!
Navigating to the Auxiliary Room: The Gauntlet Begins
Before you can even think about those confusing levers, your first mission is to gain access to the auxiliary room itself. This isn’t as straightforward as it sounds, as the game makes you earn every inch of progress. Your journey begins in the command centre, where you’ll need to locate a specific locker.
The good news is, we have the code for that locker! Punch in 0825, and it will swing open, revealing the crucial key to the auxiliary room. Once you have this in hand, make your way downstairs towards the elevator. Now, here’s where things get intense: the path to the elevator is swarming with some of the game’s nastier inhabitants, including the dreaded The Weight. You’ll need to be quick and cautious.
Our advice? Don’t linger. Make a swift dash for the elevator. The doors close relatively fast, but it will be a tight squeeze. Once you’ve safely ascended to the next floor, you might encounter a few smaller, more manageable monsters. These can usually be skirted around without too much hassle. Just remember to close the auxiliary room door behind you once you’re inside – safety first!
Inside the Auxiliary Room: Finding Your Clue
Congratulations, you’ve made it into the auxiliary room! Take a moment to breathe, but don’t get too comfortable. This room is a hub of pipes running across the walls, dotted with various levers. You’ll also spot a locker and a desk with a terminal. Your immediate goal here is to find the next crucial piece of the puzzle.
Head straight for the locker within this room. Open it up, and inside you’ll discover a floppy disk. This seemingly outdated piece of tech holds the key to deciphering the lever puzzle. Now, take the floppy disk over to the terminal on the desk. Insert it, and the screen will display a series of lines – this is your primary clue.
It’s highly recommended, almost mandatory, to snap a quick photo of this document with your phone. Trust us, trying to memorize these patterns while under pressure is a recipe for frustration. Having a visual reference will make the next part of the puzzle significantly easier to manage.
Deciphering the Lever Puzzle: It’s Simpler Than It Looks
At first glance, those lines on the terminal might look like some cryptic Morse code or an alien language. Many gamers initially panic, thinking they need to understand a complex cipher. However, the solution is thankfully much more straightforward than it appears. The lines are actually a visual representation of how each lever needs to be positioned: either horizontal (represented by an underscore or flat line) or vertical (represented by a straight, upright line).
The real trick is understanding which levers correspond to which line pattern. The game gives you a hint: only specific levers are included in each auxiliary line’s sequence. You’ll notice white lines etched onto the pipes adjacent to the levers. These white lines tell you which levers to focus on for each of the three auxiliary lines:
- The first row of the clue corresponds to levers next to a single white line.
- The second row of the clue corresponds to levers next to two white lines.
- The third row of the clue corresponds to levers next to three white lines.
With that understanding, let’s tackle each line one by one.
Solving Auxiliary Line 1, 2, and 3
Here are the exact patterns you need to set for each auxiliary line. Work carefully and methodically. If you get a line right, a green light next to the last lever for that sequence will illuminate, confirming your success.
Auxiliary Line 1 Solution: (Levers next to single white lines)
This sequence starts on the wall right next to the locker, near the white arrow at the bottom of the wall. There are nine levers to adjust for this line:
- Lever 1: Vertical
- Lever 2: Horizontal
- Lever 3: Vertical
- Lever 4: Vertical
- Lever 5: Horizontal
- Lever 6: Vertical
- Lever 7: Horizontal
- Lever 8: Vertical
- Lever 9: Vertical
Once all nine are correctly set, the light next to the last lever should turn green.
Auxiliary Line 2 Solution: (Levers next to double white lines)
The second line sequence also begins on the wall near the locker, but by the middle white arrow. This line also involves nine levers:
- Lever 1: Vertical
- Lever 2: Horizontal
- Lever 3: Horizontal
- Lever 4: Horizontal
- Lever 5: Vertical
- Lever 6: Horizontal
- Lever 7: Horizontal
- Lever 8: Vertical
- Lever 9: Vertical
Again, a green light will confirm your success for this line.
Auxiliary Line 3 Solution: (Levers next to triple white lines)
Finally, the third line is found on the opposite wall from the first two, typically above the second green light you just activated. This sequence has eight levers:
- Lever 1: Horizontal
- Lever 2: Vertical
- Lever 3: Vertical
- Lever 4: Vertical
- Lever 5: Horizontal
- Lever 6: Vertical
- Lever 7: Horizontal
- Lever 8: Vertical
With this last line completed, the final light will glow green, signaling that you’ve successfully opened all auxiliary lines!
And there you have it! You’ve conquered one of Silent Hill: Townfall’s trickiest puzzles. Now you can safely (well, as safely as it gets in Silent Hill) leave the auxiliary room, head back to the elevator, and make your way back to the command centre to progress further in Part 6. This kind of challenge is what makes survival horror so rewarding, and nailing it feels amazing. Let us know in the comments how this guide helped you out!
As an Amazon Associate, PakGamersHub earns from qualifying purchases.