Arc Raiders: Say Cheese! Your Guide to the ‘When Everything Falls’ Photo Quest
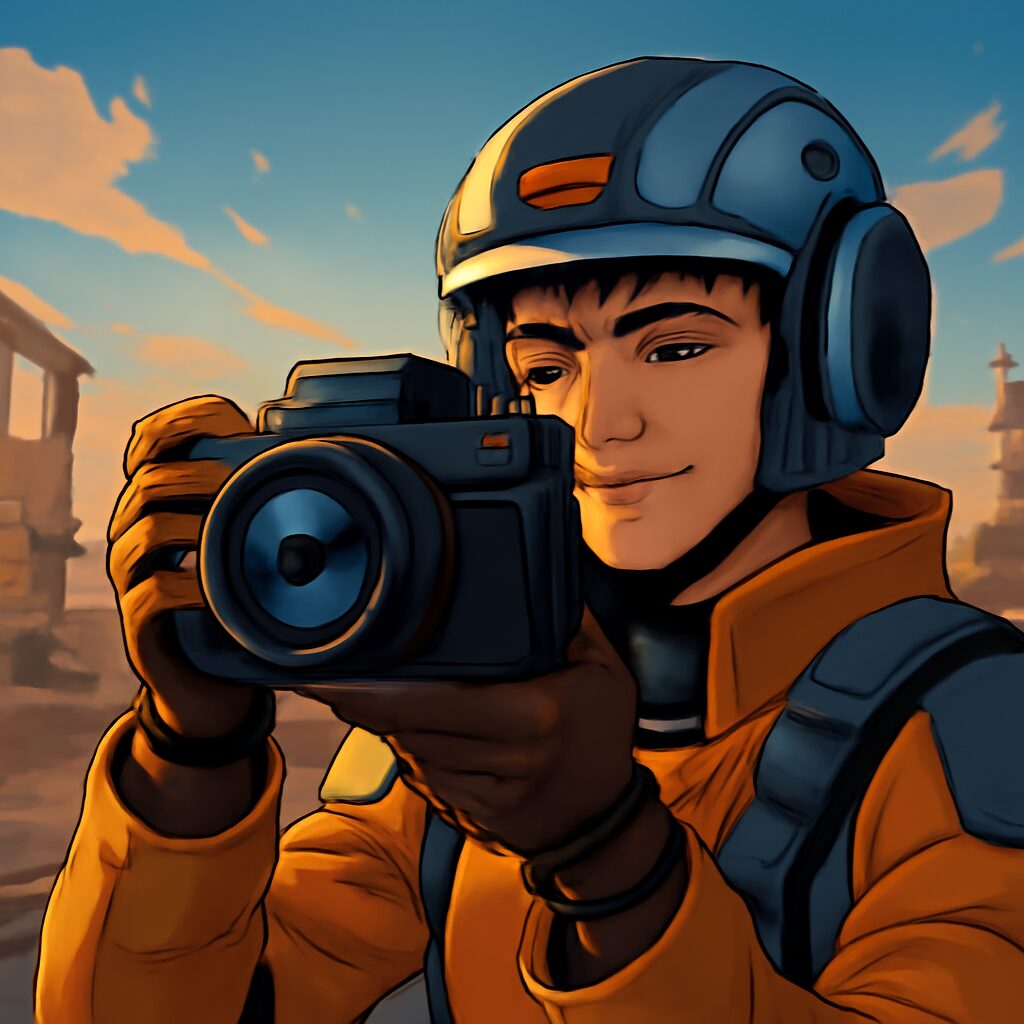
Arc Raiders has been keeping us on our toes, hasn’t it? The intense co-op action, the constant threat from the ARC, and those thrilling quests that push us to explore every inch of the map. Well, if you’re diving into the latest challenges, you’ve probably stumbled upon the “When Everything Falls” quest. And let me tell you, this one isn’t just about shooting; it’s about showing off your photography skills!
Forget your heavy artillery for a moment, because this mission sends you back to the familiar grounds of Spaceport, specifically around the Water Towers, with a unique objective: document key locations with your trusty camera. It’s less about wiping out enemies (though you’ll still encounter plenty!) and more about playing detective. So, grab your gear, make sure your camera is packed, and let’s get snapping!
Gear Up, Gamers: Your Camera is Key!
Before you even think about setting foot near the Water Towers, there’s one absolutely crucial item you need in your inventory: a camera. Seriously, don’t leave home without it! This quest is entirely reliant on your ability to capture specific sights, so if you forget your camera, you’ll just be making a pointless trip.
Now, we all know how intense lobbies can get in Arc Raiders. If you’re like me and often find yourself in skirmishes, it’s a smart move to equip an augment that provides a safe pocket. This way, you can tuck your camera away safely when you’re not using it, protecting it from getting lost or damaged if things get a bit too chaotic. Safety first, especially when you’re on a photo mission!
Destination: Water Towers – The Photo Hunt Begins
Your first official objective is pretty straightforward: make your way to the Water Towers Point of Interest (POI). You’ll find this landmark nestled on the northwestern tip of the Spaceport map. It’s a prominent location, so spotting it shouldn’t be too much of a hassle, but always keep an eye out for those pesky ARC patrols on your journey.
Once you arrive at the Water Towers, your quest objectives will start updating, guiding you to specific photo opportunities. Think of it as a scavenger hunt, but with a lens! The first couple of targets are usually pretty close by, helping you ease into your new role as a combat photographer.
Snapping the Scenery: Booths, Buses, and Breaches
Alright, camera ready? Let’s get to work. Your initial photo targets are all within a reasonable distance from the Water Towers, so you won’t have to wander too far initially.
- The Security Booth: From the Water Towers, just follow the main road a short distance. You’ll quickly spot a security booth. It might look abandoned, or perhaps still operational by some forgotten protocol. Either way, pull out your camera and snap a photo of it. That’s one down!
- The Reinforced Bus: Continue a little further down the same road. You’ll soon come across a cluster of reinforced buses. These aren’t your typical school buses; they’re battle-hardened, probably used for troop transport or emergency evacuations. Pick any one of them, line up your shot, and take a picture. Easy peasy!
- The Breach in the Walls: From where you photographed the buses, turn your gaze eastward. You should be able to clearly see a significant breach in the perimeter walls. This gap tells a story of intense conflict and the relentless advance of the ARC. Frame it nicely, and capture the breach with your camera.
These initial shots are designed to get you comfortable with the process. Always be aware of your surroundings while you’re focusing on your camera, as Spaceport is rarely completely safe.
Navigating the Arrival Building and Glimpsing the Launch Towers
With those initial targets documented, your next stop takes you slightly north to the Arrival Building. This massive structure would have once bustled with activity, welcoming new arrivals to Spaceport. Now, it stands as another relic of a world under siege.
Your mission here is to photograph the security room. To access it, you’ll need to make your way to the northwestern side of the building. Look for a specific door that needs to be breached. Once you successfully force it open, head inside the security room. It’s a tight space, likely filled with dormant terminals and discarded equipment. Once inside, don’t forget to take a clear photo of the entire room.
Stepping out of the Arrival Building – specifically from its western side – you’ll get a breathtaking view in the distance: the towering silhouettes of the Launch Towers. These colossal structures are your next main destination, but for now, you just need a snapshot. From your vantage point outside the Arrival Building, you can simply snap a photo of Port A of the Launch Towers to complete this part of the quest. No need to get up close and personal just yet!
Ascending the Launch Towers: Control and Command
Now for the grand finale! Make your way to the Launch Towers themselves. These are truly impressive structures, remnants of a time when humanity still dreamed of escaping the planet. Find one of the side doors to enter the interior of these massive towers.
Once inside, you’ll need to gain some elevation. Look for a zipline that will take you straight up to the control room. This room would have been the nerve center for all launch operations, a place of high tension and critical decisions. Take a moment to appreciate the view and the silent history within, then capture a photo of the entire control room. You’re almost there!
For your final photographic assignment, you need to reach the very pinnacle of the Launch Towers. Ascend to the launch platform at the absolute top. This is it – the highest point, offering panoramic views of the entire Spaceport and beyond. Find any suitable spot up here, frame your shot, and take a final picture of the launch platform. Congratulations, gamer, you’ve successfully completed the “When Everything Falls” quest!
Completing this quest not only gives you a sense of accomplishment but also helps you get more familiar with the Spaceport layout, which is always an advantage in Arc Raiders. Keep an eye out for more guides from PakGamersHub as you continue your fight against the ARC!