Uncover the Truth: Your Complete Guide to Every Halo Campaign Evolved Terminal!
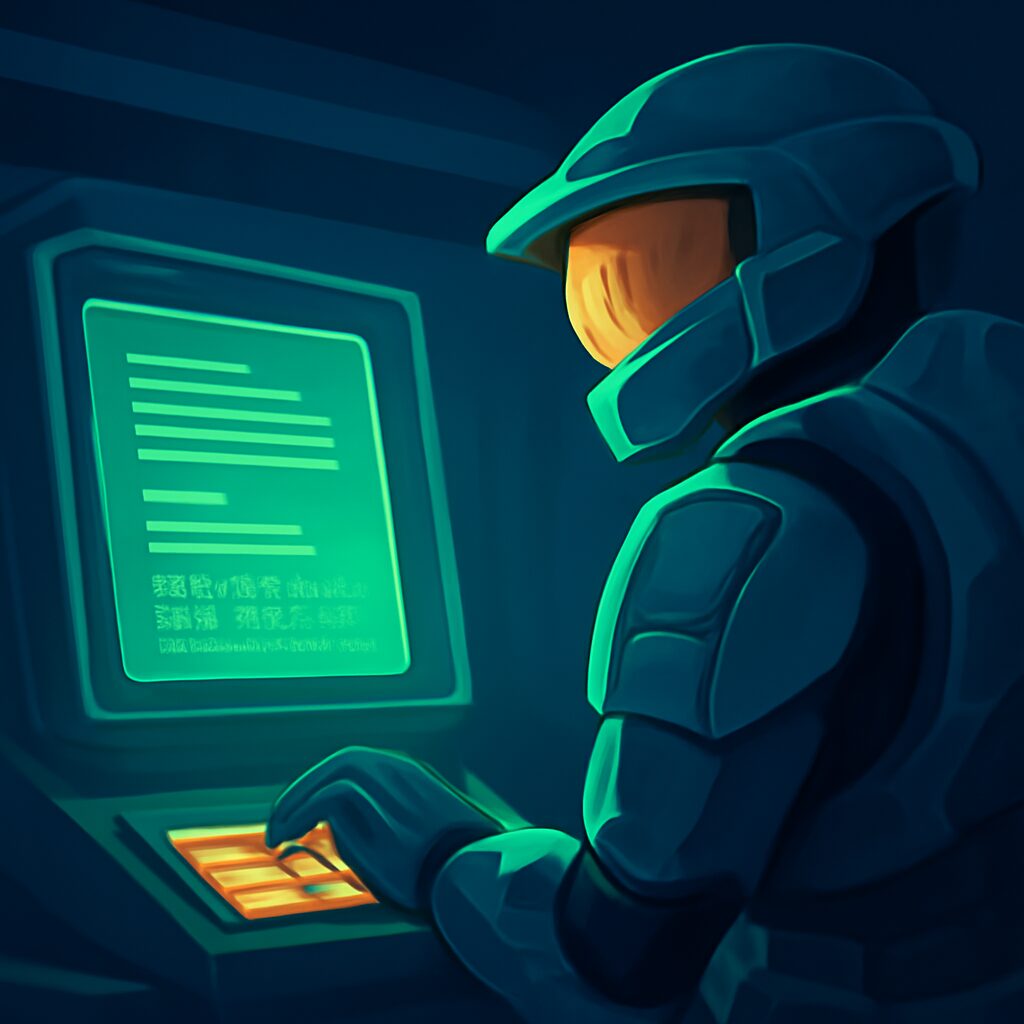
Salam, fellow Spartans! Ready to dive deeper into the iconic universe of Halo: Combat Evolved? We all know the thrill of blasting through the Covenant forces, but there’s a whole layer of rich backstory and hidden lore waiting to be discovered through the elusive Terminals scattered across the campaign levels. These aren’t just random collectibles; they offer fascinating insights into the Halo universe!
Now, don’t confuse these with the Skulls or even the Terminals from the original Halo: Combat Evolved Anniversary – these “Evolved” versions are in completely different spots! And unlike the Skulls that practically scream for attention, these Terminals are sneaky, only giving off a faint bleep or bloop when you’re practically on top of them. The good news? There are only 13 of them – one for each mission – making the hunt for every lore entry a rewarding, manageable challenge.
Whether you’re a seasoned Chief veteran or a new recruit experiencing the legend for the first time, our guide will help you pinpoint every single one. Let’s get hunting!
Pillar of Autumn Terminal: Approach
Once you hit Rally Point Charlie on the Pillar of Autumn, you’ll be navigating through the upper cryo room – you know, the one where Cortana quips about the Covenant catching you napping, with all the cracked windows. After you pass through that room, go through the very next door. Immediately turn left, and you’ll spot another open door. Head inside this small room, illuminated with red lights and packed with screens. The Terminal is waiting for you at the far end, ready to unlock the ‘Approach’ lore entry.
Halo Terminal: Forgotten
From Rally Point Bravo on the “Halo” mission, you’ll eventually drive your Warthog into that memorable Forerunner tunnel, the one that makes you think, “this cave is not a natural formation.” Keep driving until you reach a straight section with two small bumps in the road. Look to your right, and you’ll see a large window. Hop out of your Warthog, carefully jump through that window, and drop down to the ledge directly below. Your ‘Forgotten’ Terminal is right there, nestled away.
Truth and Reconciliation Terminal: Inquisitor
Alright, Spartans, from Rally Point Charlie, after you’ve cleared out the ship’s command room, you’ll be on your way to the brig to rescue Captain Keyes. After traversing a few corridors, you’ll enter a large room with several doors. Take the very first door immediately to your right as you enter. This will lead you into one of the prison rooms. Use the central console to disable the forcefields, then head into the cell almost directly opposite the console. Inside, you’ll find the ‘Inquisitor’ Terminal.
Silent Cartographer Terminal: Status Update
On the Silent Cartographer mission, from Rally Point Bravo, just after you manage to shut down the security system, turn around from the console. Head to the outer walkway of this area and look for an extended platform. The ‘Status Update’ Terminal is cleverly hidden behind a small Forerunner structure that has two distinctive pointy bits.
Assault on the Control Room Terminal: Tangent 1
After you’ve ascended the ice cave and reached Rally Point Charlie on “Assault on the Control Room,” you’ll emerge into a canyon. Follow the path to the right, then look for a doorway in the central rock formation on your left. Go through this door and follow the corridor until it opens into a large, empty central room. From here, take the ramp leading up to a balcony. Once on the balcony, look to your right – the ‘Tangent 1’ Terminal is tucked away in that corner.
343 Guilty Spark Terminal: Tangent 2
From Rally Point Bravo in “343 Guilty Spark,” you’ll be backtracking through the Forerunner facility, battling the Flood. Eventually, you’ll reach a point where you need to go through a door flanked by two large, pale symbols. Pass through this door and immediately turn left. You’ll find a cluster of fallen marines and their gear. From there, take the very next right into a dark corridor where the ‘Tangent 2’ Terminal is located, continuing the story from the previous one.
The Library Terminal: Tangent 3
On “The Library,” once you reach Rally Point Bravo, 343 Guilty Spark will open a large door, presenting you with two consoles and an objective pointing to the one on the right. Ignore that objective for a moment! Activate the console on the left instead. This will open a doorway on the left. Head through, then look for a small hole in the Flood-infested wall. Crawl through it, and you’ll enter a small room with a deceased marine and the final ‘Tangent’ Terminal, completing the trilogy.
Two Betrayals Terminal: Alone
From Rally Point Alpha on “Two Betrayals,” right after you’ve dealt with all the attacking Sentinels, don’t head straight out the door. Instead, turn right and run around the circular walkway. As you make your way around, you’ll stumble upon the ‘Alone’ Terminal, waiting for you to discover its secrets.
Keyes Terminal
On the “Keyes” mission, starting from Rally Point Charlie, you’ll be trying to reach a higher deck in the shuttle bay. After dropping to the ground floor, follow your objective marker through a door, then turn right and head up the inclined corridor – this area is usually swarming with Flood and a couple of Hunters. When you reach the first junction halfway up the corridor, turn left, then left again. The Terminal for this mission will be right there.
The Maw Terminal: Arrival
After clearing out the mess hall room on “The Maw” mission, starting from Rally Point Alpha, make your way from the entrance of the mess hall. Bear right, and you’ll discover the ‘Arrival’ Terminal tucked away in a nook on top of some UNSC crates.
Boarding Action Terminal: Heavy Burden
From Rally Point Delta on “Boarding Action,” after you’ve used the gravity lift to ascend to the Triumph of Tolerance’s upper decks, you’ll find yourself right in front of the corridor leading to the final combat encounter. But hold on! The Terminal is behind you. Turn around 180 degrees, and go through the door on your right to find the ‘Heavy Burden’ Terminal.
The Most Dangerous Game Terminal: Penitent Report
From Rally Point Charlie on “The Most Dangerous Game,” after you’ve successfully rescued the marines from the brig, continue fighting through the ship, following the objective markers. You’ll eventually reach a room with several windows on the left, offering a view of many sarcophagus-like devices in a large chamber. Instead of proceeding through the next objective door, take the door on your right. This will lead you into a storage room filled with UNSC gear, and there, you’ll find the ‘Penitent Report’ Terminal for this mission.
Heavy Burden Terminal
Immediately after the cutscene where Chief and Johnson acquire the starholo data on “Heavy Burden,” you’ll be at Rally Point Bravo. You’ll be facing a pair of doors on the far side of the ground floor. Go through either of them to reach another set of doors. Pass through either of those, and you’ll enter a Covenant armory. From there, go through the next door into a relatively small storage room. The Terminal for ‘Heavy Burden’ is cleverly hidden behind some Covenant equipment on the left side of the room.
There you have it, folks! Finding all these Terminals might add a bit of time to your campaign playthrough, but trust us, the extra lore and the satisfaction of uncovering every secret are absolutely worth it. Happy hunting, and we’ll see you on the next mission, Spartans!
As an Amazon Associate, PakGamersHub earns from qualifying purchases.